Plant Care Guides
The Ultimate Lavender Care Guide
Lavender is not just a pretty face; it’s a hardy herb that adds beauty and fragrance to any garden. This guide will give you all the essential tips and tricks you need to master lavender care, from planting and watering to pruning and harvesting. Get ready to cultivate your very own patch of purple bliss!
Ideal Soil Conditions for Lavender
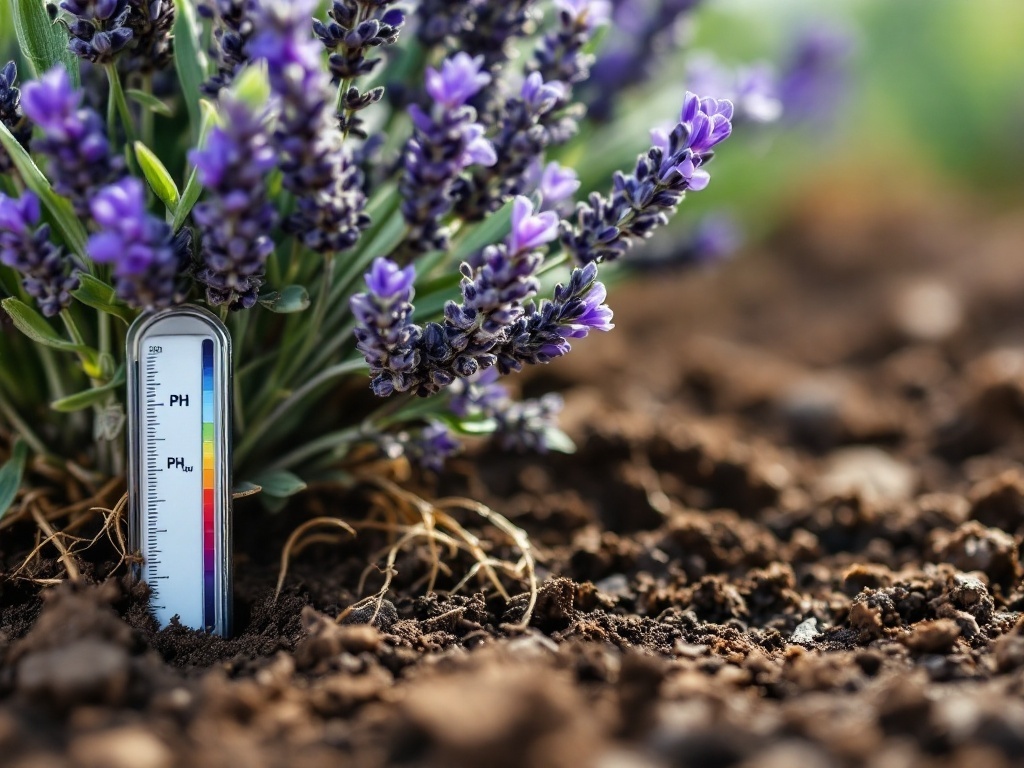
Creating the right environment for lavender is key to its growth. The image shows a lavender plant thriving in well-drained soil, accompanied by a pH meter. This meter is essential for checking soil acidity, an important factor for lavender.
Lavender prefers sandy or loamy soil. These types allow water to flow freely, preventing root rot. Heavy clay soil can be problematic, so consider amending it with sand or gravel.
The ideal pH level for lavender is between 6.0 and 8.0. Using the pH meter shown in the image helps gardeners assess their soil’s acidity. Regularly checking ensures that lavender gets the right conditions for blooming beautifully.
In summary, focus on well-drained, sandy soil with the right pH. This combination will help your lavender not only survive but thrive!
Choosing the Right Lavender Varieties
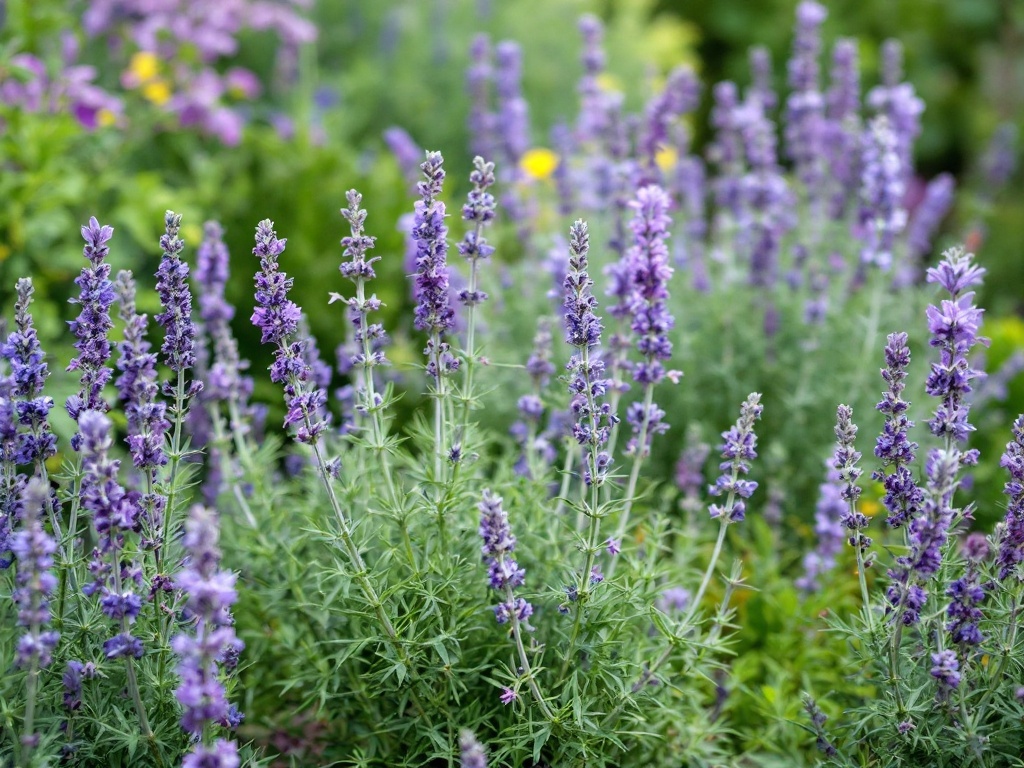
When picking lavender, you have plenty of options. The image showcases beautiful lavender plants, each with its unique charm. It’s essential to know which type suits your garden best.
English lavender is popular for its delightful scent and vibrant flowers. Its rich hues and strong fragrance make it a favorite among gardeners. If you’re looking for something that thrives in colder climates, this is a great choice.
French lavender, on the other hand, is perfect for warmer areas. Its unique shape and slightly spicy scent can add a different flair to your garden. This variety also attracts bees, which is a bonus for pollinator-friendly gardens!
Consider Spanish lavender, known for its distinctive flower spikes. It brings an eye-catching element to your garden. Plus, it’s drought-resistant, making it easy to care for.
Choosing the right variety can make a big difference in your lavender experience. Think about your local climate and what you’d like to achieve in your garden. With the right selection, you can enjoy the beauty and fragrance of lavender all season long.
Fertilizing Lavender: When and How
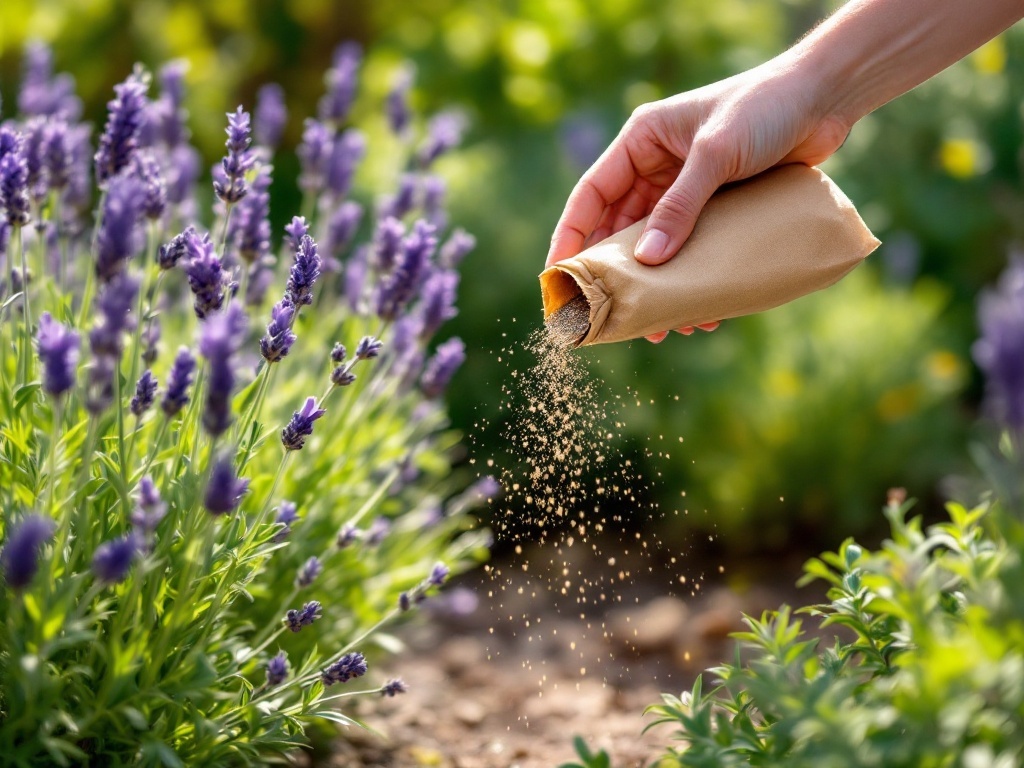
In this section, we’ll explore the best practices for fertilizing lavender, as shown in the image above. A hand is seen carefully sprinkling fertilizer around a vibrant lavender plant, highlighting the importance of feeding these beautiful blooms to keep them healthy and thriving.
Lavender typically prefers poor soil, so fertilizing should be done cautiously. It’s best to use a balanced, slow-release fertilizer. Start by applying it in early spring when new growth begins. This gives the plant a boost as it prepares for the blooming season.
A second, lighter application can be done in mid-summer. Just be sure not to overdo it, as too much fertilizer can lead to lush foliage at the expense of flowers.
When applying fertilizer, make sure to sprinkle it around the base of the plant. Watering afterward helps the nutrients soak into the soil, ensuring the plant can absorb them effectively.
Keep an eye on your lavender’s growth and adjust your fertilizing routine as needed. Healthy lavender will produce fragrant flowers and attract pollinators, enhancing your garden’s beauty.
Pest Control Strategies for Lavender
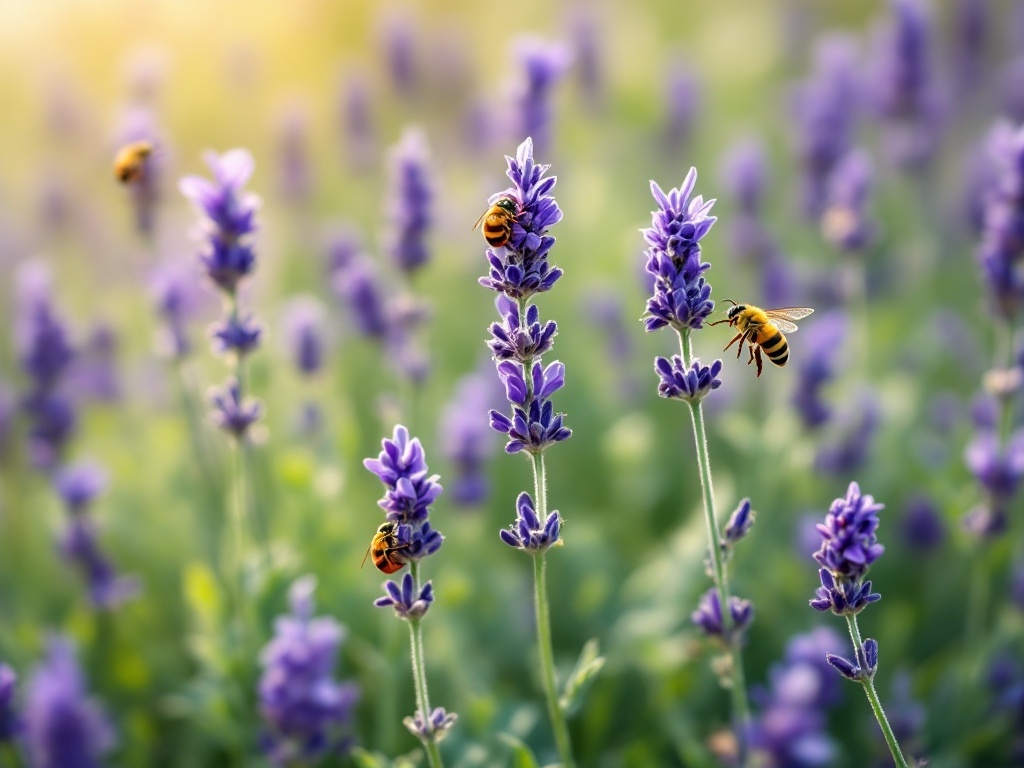
Pests can be a challenge for lavender enthusiasts, but there are effective strategies to keep them at bay. The image shows beautiful lavender flowers, attracting friendly bees. These bees play a crucial role in pollination and help maintain the health of your garden.
Start by encouraging beneficial insects like ladybugs and lacewings, which feast on pests that can harm your lavender. A diverse garden with various plants can create a balanced ecosystem.
Another method is to use natural repellents. Spraying a mixture of water and dish soap can deter aphids and spider mites without harming beneficial insects. Essential oils, like neem oil, can also be effective in deterring unwanted visitors.
Regularly inspecting your plants is key. Look for early signs of trouble, like discoloration or webbing. Catching pests early makes them easier to manage. If you spot an infestation, you might consider removing the affected parts of the plant.
Lastly, maintaining healthy soil and watering practices strengthens your lavender, making it less susceptible to pests. Healthy plants are more resilient and can fight off minor infestations.
Pruning Lavender for Maximum Bloom
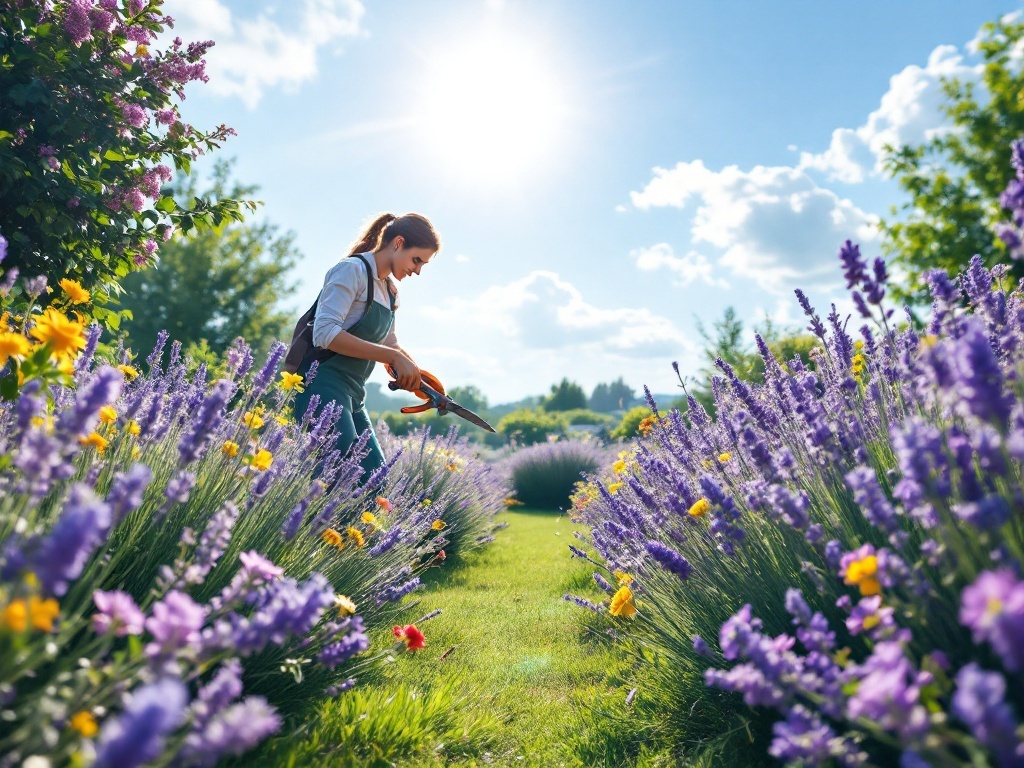
Pruning lavender is a key step in promoting healthy growth and vibrant blooms. In the image, we see a gardener happily tending to a beautiful lavender field, surrounded by lush greenery and colorful flowers. This scene captures the essence of caring for lavender plants, showcasing the joy that comes from gardening.
To maximize blooms, it’s important to prune lavender at the right time. The best time to do this is in early spring when new growth begins. Cut back the previous year’s growth by about one-third to encourage fresh blooms. This not only helps to shape the plant but also promotes air circulation.
When pruning, use clean, sharp shears to make clean cuts. Aim for a shape that resembles a rounded mound. This will help the lavender maintain its form and produce more flowers. It’s also a good idea to remove any dead or woody stems to keep the plant healthy.
In the image, the gardener appears focused and content, highlighting how rewarding pruning can be. The vibrant colors and healthy plants in the background are a testament to the benefits of regular maintenance.
By following these simple steps, you can enjoy a stunning display of lavender blooms that not only looks beautiful but also fills the air with its delightful fragrance. Happy gardening!
Harvesting Lavender: Timing and Techniques
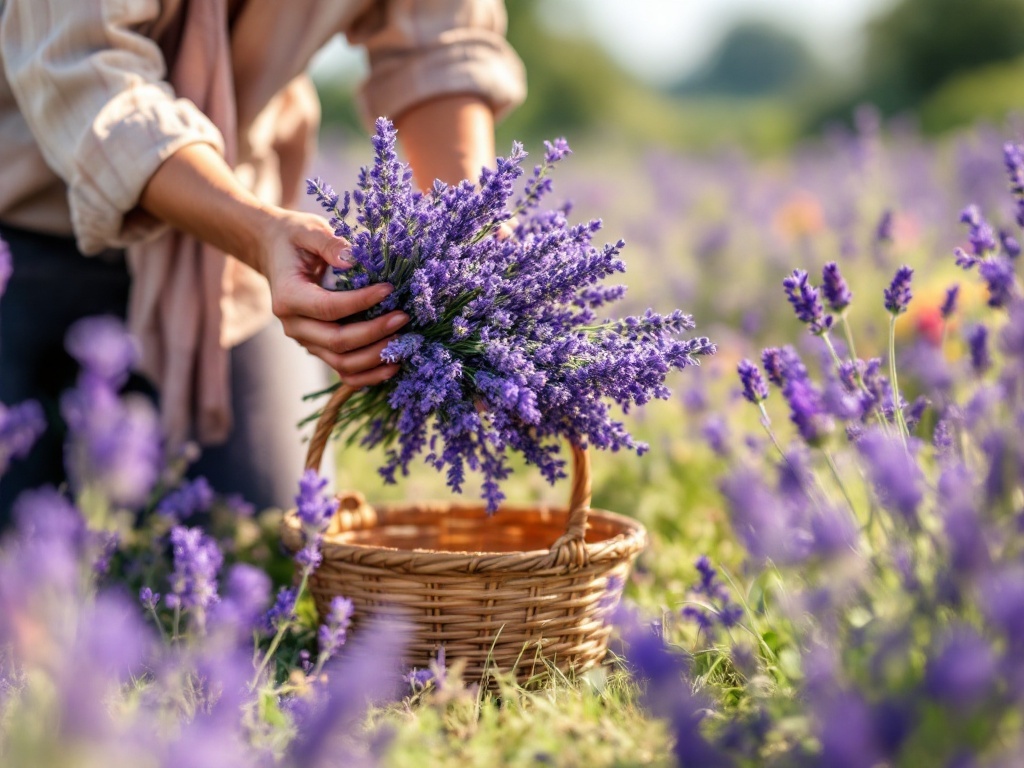
Harvesting lavender is a delightful task, especially when you see those vibrant purple blooms in full display. The image shows someone carefully gathering lavender, which is a key step in enjoying its fragrance and beauty.
Timing is essential for harvesting. The best time to pick lavender is when the buds are just starting to open. This ensures that the flowers are fragrant and full of oil. If you wait too long, the blooms may start to fade, losing some of that lovely scent.
When you’re ready to harvest, use sharp scissors or garden shears. Cut the stems about 2-3 inches above the leaves. This technique promotes healthy growth for the remaining plant. Working in the early morning or late afternoon is best, as the oils are most concentrated at these times.
Gather your cut stems into small bundles and tie them together with twine. Hanging them upside down in a dry, dark place will help preserve their color and scent. Soon, you’ll have dried lavender ready for sachets, teas, or just to enjoy!
Watering Techniques for Lavender Plants
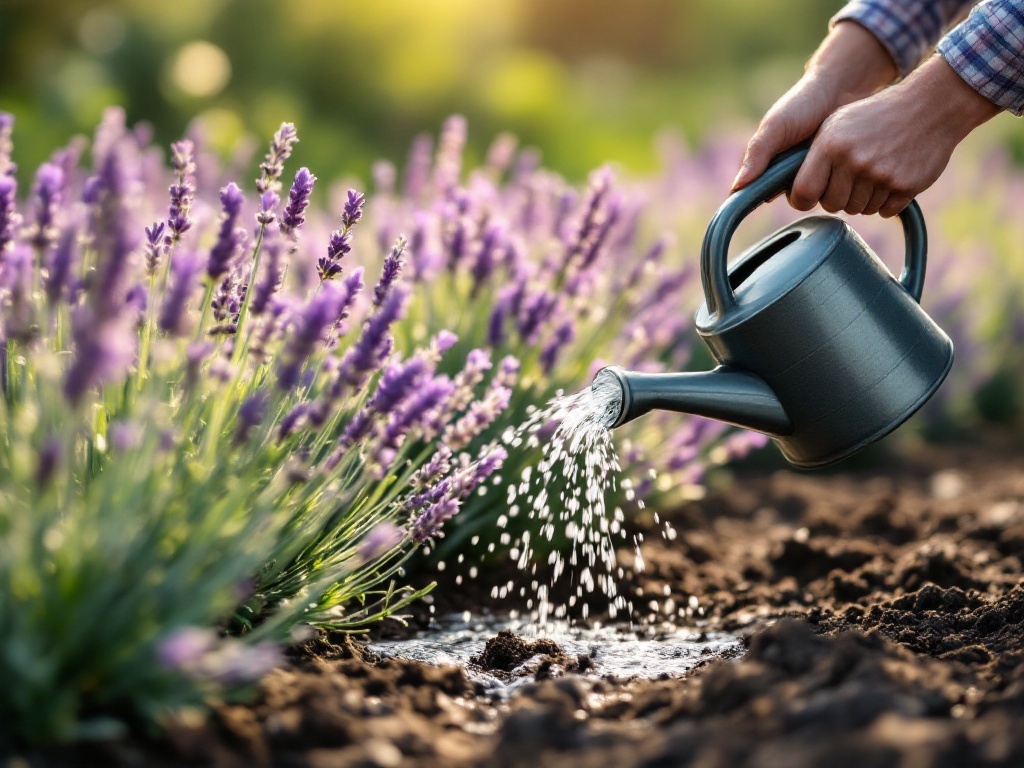
Watering is key to keeping lavender plants happy and healthy. The image shows someone watering lavender, which highlights the gentle care these plants require. Lavender thrives in well-drained soil, so knowing how to water them properly is essential.
One effective technique is to water deeply but infrequently. This means giving your lavender a good soak, allowing the water to penetrate the roots, then waiting until the soil dries out before the next watering session. Overwatering can lead to root rot, so it’s better to err on the side of caution.
Morning is the best time to water, as it allows the plants to absorb moisture before the heat sets in. If it’s especially hot, a light afternoon watering can help, but avoid doing this too close to evening to prevent moisture from sitting overnight.
Using a watering can like the one shown in the image is great for precision. It helps direct the water right where it’s needed. Consider using a soaker hose or drip irrigation for larger beds, which allows for consistent moisture without soaking the foliage.
Optimal Sunlight Exposure for Healthy Growth
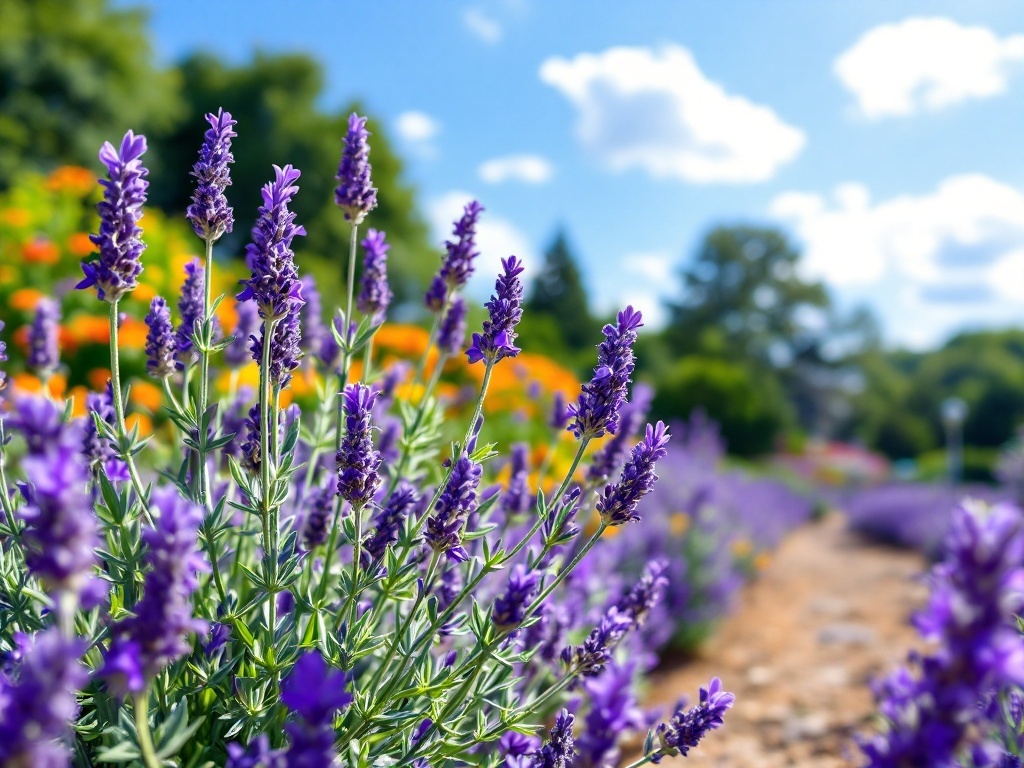
Lavender thrives in sunny spots, soaking up the sun to grow strong and healthy. In the image, you can see vibrant lavender plants reaching toward a bright, blue sky. This colorful display shows just how much they love sunlight.
For lavender to flourish, it needs at least six to eight hours of direct sunlight each day. This exposure helps the plants produce their signature scent and beautiful blooms. If you notice your lavender growing tall but not flowering, it might not be getting enough sun.
When planting lavender, choose a location that is open and sunny. Avoid shaded areas, as they can hinder growth. If you’re growing lavender indoors, place it near a south-facing window where it can receive ample sunlight. Remember, the more sunlight, the better the growth!
Seasonal Care and Maintenance Tips

Lavender plants thrive with proper seasonal care. In spring, it’s time to prune. Clip back any dead or overgrown stems to promote healthy growth. This also encourages those beautiful blooms to appear. Make sure to clear any debris around the base to prevent disease.
During the summer months, watering is essential, especially if you live in a hot climate. Lavender likes it dry, so water only when the top inch of soil feels dry. This helps maintain the plant’s health and fragrance. Early morning is the best time to water.
As fall approaches, watch for any signs of fading blooms. Trim back the spent flowers to keep the plant tidy. Adding a layer of mulch around the base can help protect the roots from colder temperatures.
In winter, it’s best to leave the plants alone. Lavender is hardy, but avoid excessive moisture. If you live in a particularly snowy area, consider covering them with burlap to shield against harsh conditions.
Using Dried Lavender in Crafts and Cooking

Dried lavender is a wonderful addition to various crafts and cooking projects. The image shows a lovely arrangement of lavender alongside common ingredients like flour, butter, and eggs. This setup hints at the delightful possibilities of incorporating lavender into recipes.
In cooking, lavender can be used in sweets like cookies and cakes. A simple lavender shortbread recipe involves combining butter, sugar, flour, and dried lavender. Just cream the butter and sugar, mix in the dry ingredients, and bake at 350°F until lightly golden. The result is a fragrant treat that’s sure to impress.
For crafts, consider making lavender sachets. Just fill small fabric bags with dried lavender and sew them shut. These sachets can freshen up drawers or add a calming scent to any space. The image captures the essence of creativity, showcasing how dried lavender can enhance both culinary and crafting experiences.
Why Your Tomatoes Aren’T Thriving
If your tomatoes aren’t thriving like you hoped, don’t worry—you’re not alone! There are several common reasons your plants might be struggling, and identifying these issues can help you turn things around. Let’s take a look at some of the key factors that might be affecting your garden’s tomato plants.
Incorrect Plant Spacing
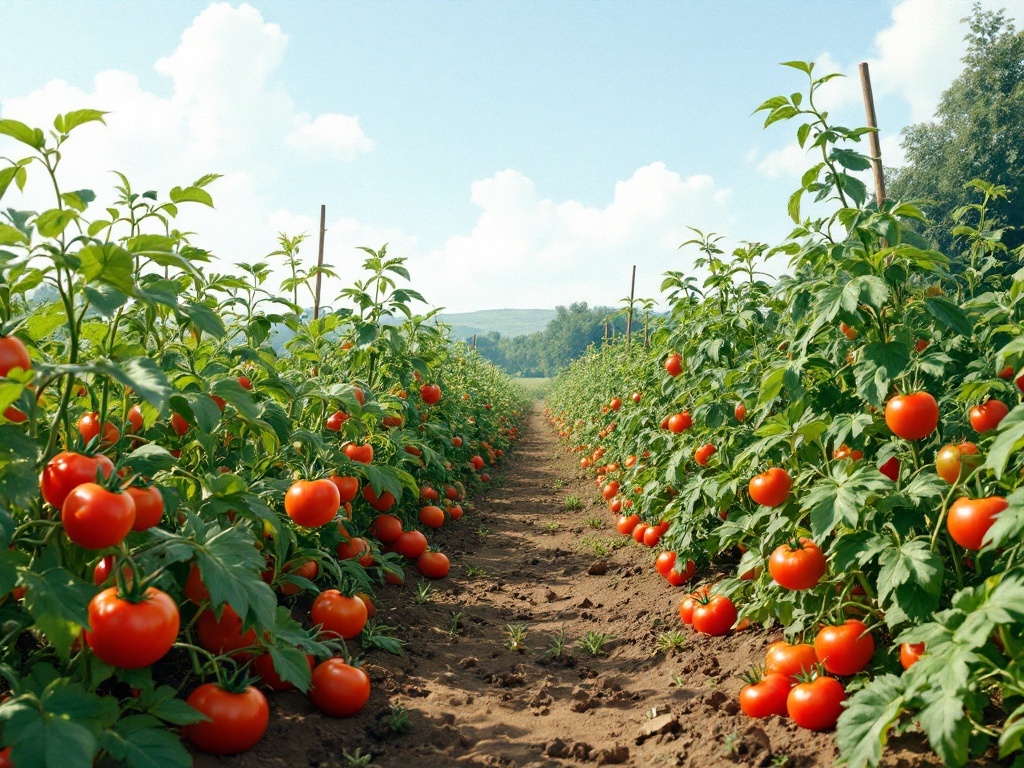
When growing tomatoes, spacing is key. If plants are too close together, they can struggle. This image shows healthy tomato plants lined up perfectly. Notice how each plant has room to breathe and thrive.
Tomatoes need good airflow to prevent diseases. If they are crammed together, moisture can build up, leading to issues like blight. The plants in the picture have enough space to grow tall and strong.
To achieve this, space your tomato plants about 18 to 24 inches apart. This allows them to spread out their leaves and absorb sunlight effectively. Healthy plants mean more delicious tomatoes!
Temperature Extremes
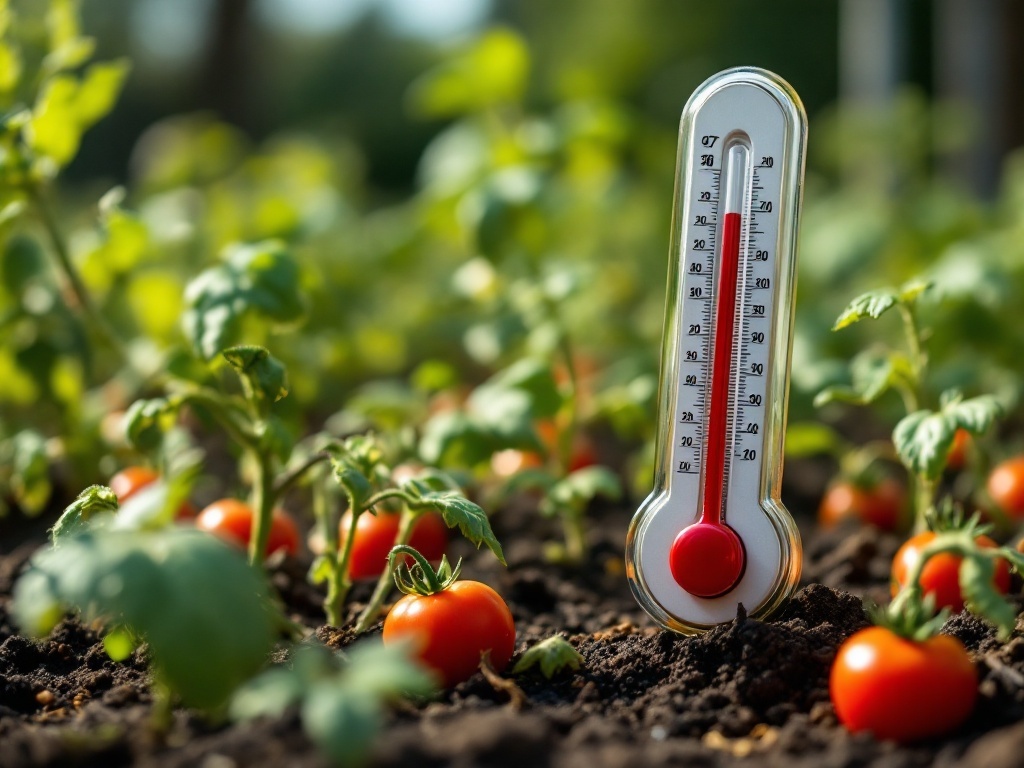
Temperature plays a big role in the health of your tomato plants. The image shows a thermometer placed among young tomato plants, indicating the importance of monitoring the environment around them. Tomatoes thrive best in temperatures between 70°F and 85°F. If it’s too hot or too cold, your plants might struggle.
High temperatures can cause stress, leading to blossom drop and poor fruit set. On the other hand, when temperatures dip below 50°F, growth slows down, and you might see yellowing leaves. Keeping an eye on the thermometer helps you create a better growing environment for your tomatoes.
Consider using shade cloths during the hottest parts of the day or row covers to protect them from unexpected cold snaps. Adapting to temperature changes is key to getting those juicy, delicious tomatoes you’re aiming for!
Poor Soil Quality
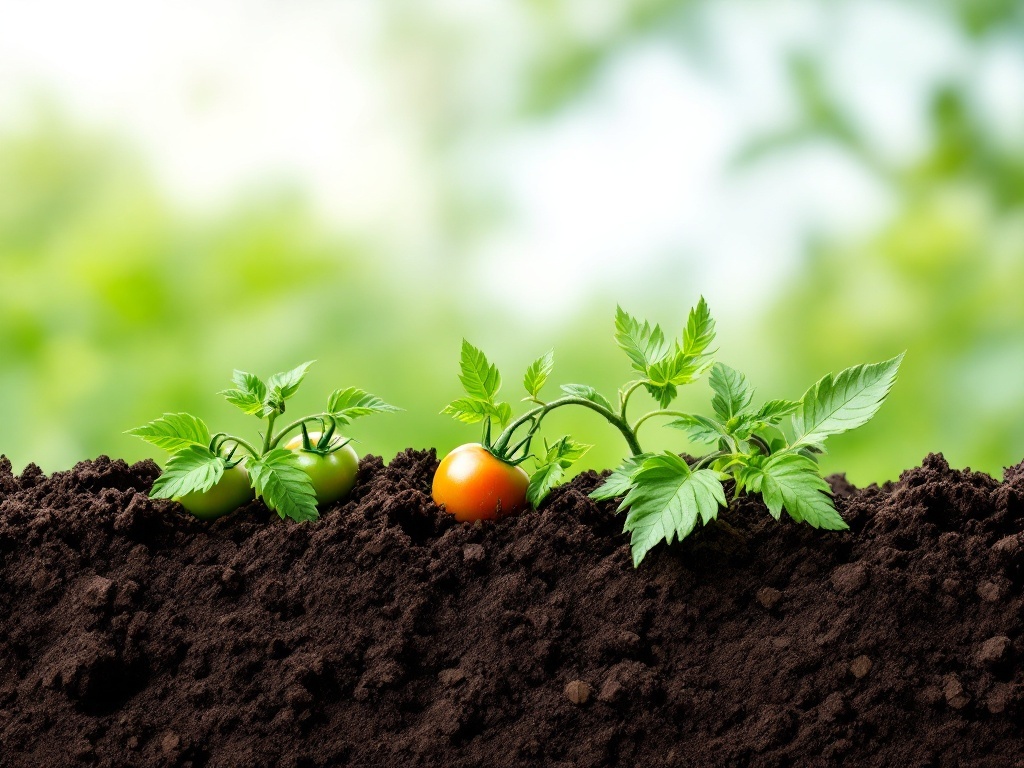
If your tomatoes aren’t thriving, the soil might be the culprit. The image shows young tomato plants peeking out from rich, dark soil. This visual reminds us that healthy soil is essential for growth. Without it, even the best seeds can struggle.
Tomatoes need soil that is nutrient-rich and well-draining. If the soil is compacted or lacks organic matter, your plants will suffer. They might look stunted or weak, like those in the photo. Ensuring good soil quality means mixing in compost or well-rotted manure to provide the nutrients they crave.
Testing your soil’s pH can also help. Tomatoes prefer a slightly acidic environment, ideally between 6.0 and 6.8. If your soil is too alkaline or too acidic, it can affect nutrient absorption. Adjusting the pH can make a world of difference.
Lastly, proper drainage is key. Waterlogged soil can lead to root rot, which can be devastating for your tomatoes. Make sure there are no puddles pooling around your plants. If drainage is poor, consider raised beds or adding sand to improve it.
Diseased Plants
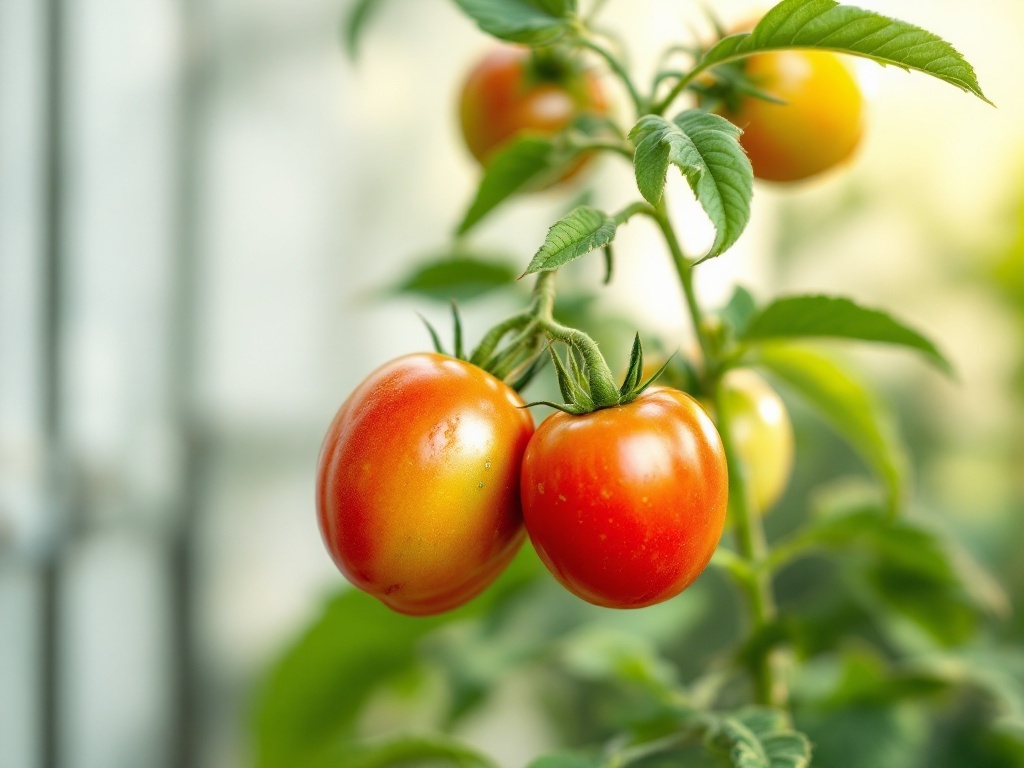
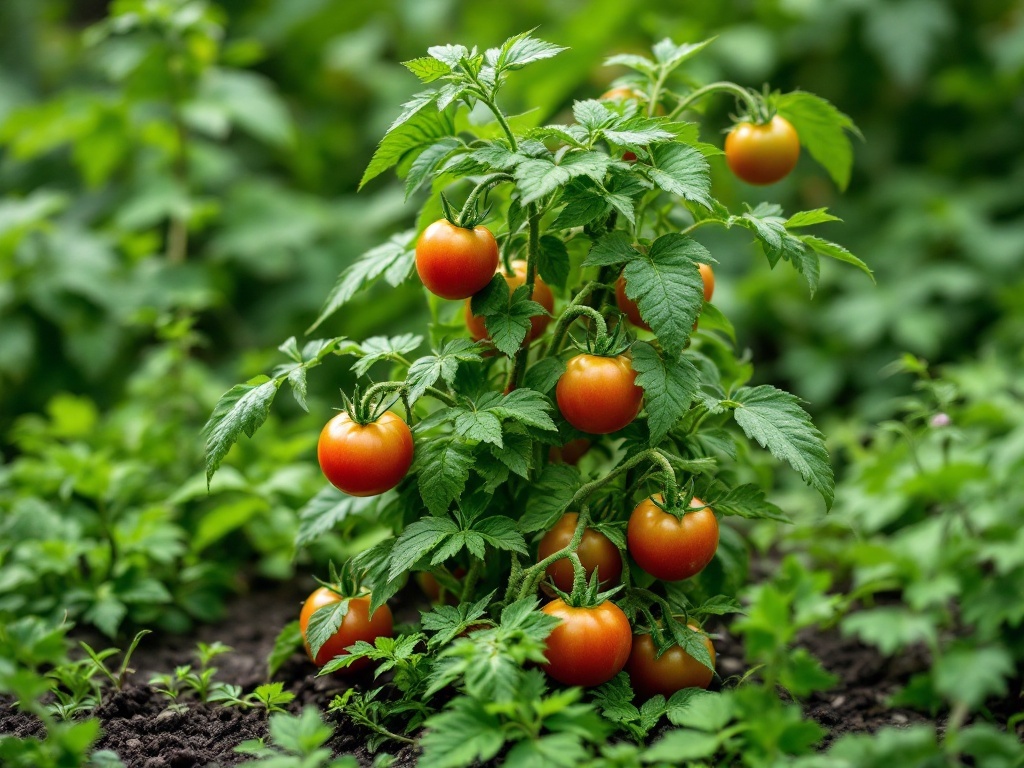
When your tomato plants aren’t thriving, it might be due to diseases that can affect their growth and fruiting. The image shows plump tomatoes on the vine, appearing healthy, but many factors can lead to plants looking like this while still suffering below the surface.
Common diseases such as blight and wilt can hinder the overall health of your tomatoes. They may start off looking vibrant, but soon you might notice yellowing leaves or wilting. Regular inspection is key. If you spot any signs of disease, it’s best to act quickly to save your plants.
Another issue could be pests, which can introduce diseases. Aphids and whiteflies are notorious for damaging tomato plants. Keeping plants clean and monitoring for pests helps maintain their health. Remember, prevention is easier than dealing with a full-blown infestation.
Finally, consider the soil quality. Poor soil can lead to weak plants, making them more susceptible to diseases. Testing your soil and adding the right nutrients can make a significant difference in your tomato garden.
Insufficient Watering Practices
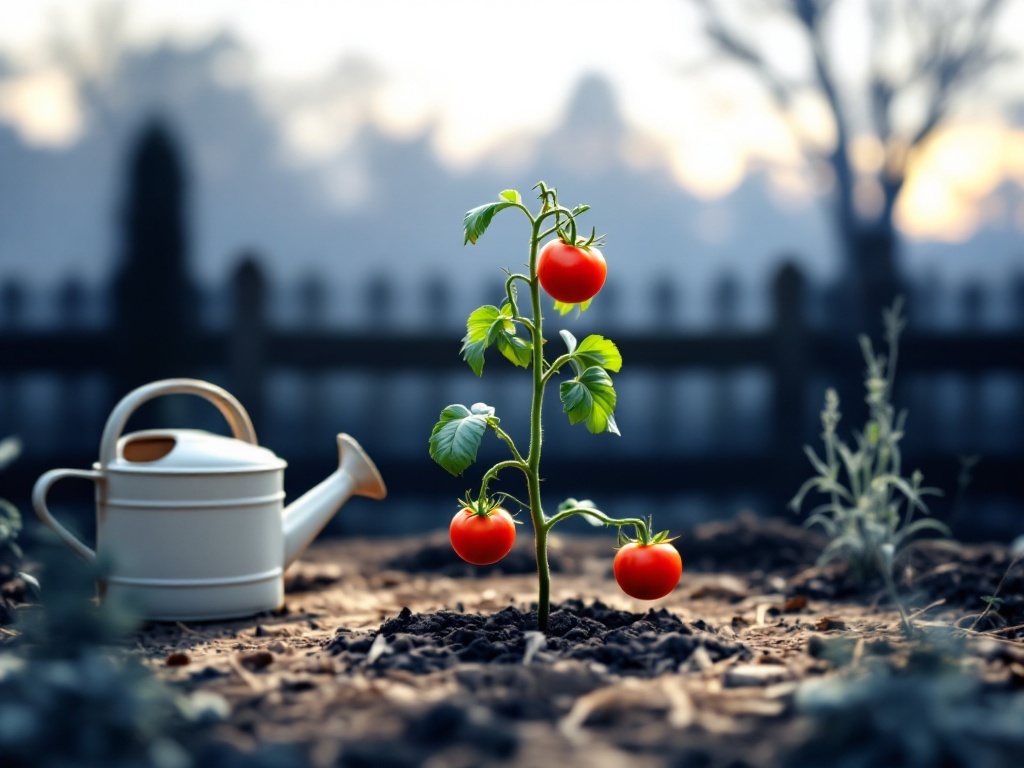
Watering your tomatoes might seem simple, but it’s vital for their growth. The image shows a young tomato plant with vibrant red fruits and a watering can nearby. This visual emphasizes how important consistent watering is to achieve healthy plants.
Tomato plants need a steady supply of moisture. If they don’t get enough water, they may struggle to thrive. Look out for signs like wilting leaves or cracked fruits. These could indicate that your plants are feeling a bit too dry.
It’s a good idea to water deeply but less frequently. This encourages the roots to grow deeper into the soil, searching for moisture. Check the soil with your fingers. If it feels dry a couple of inches down, it’s time to give your plants a drink.
Don’t forget about the weather. Hot days can dry out the soil quickly, so you might need to adjust your watering schedule accordingly. You want to keep your tomatoes happy and healthy, so pay attention to their needs!
Pest Infestation
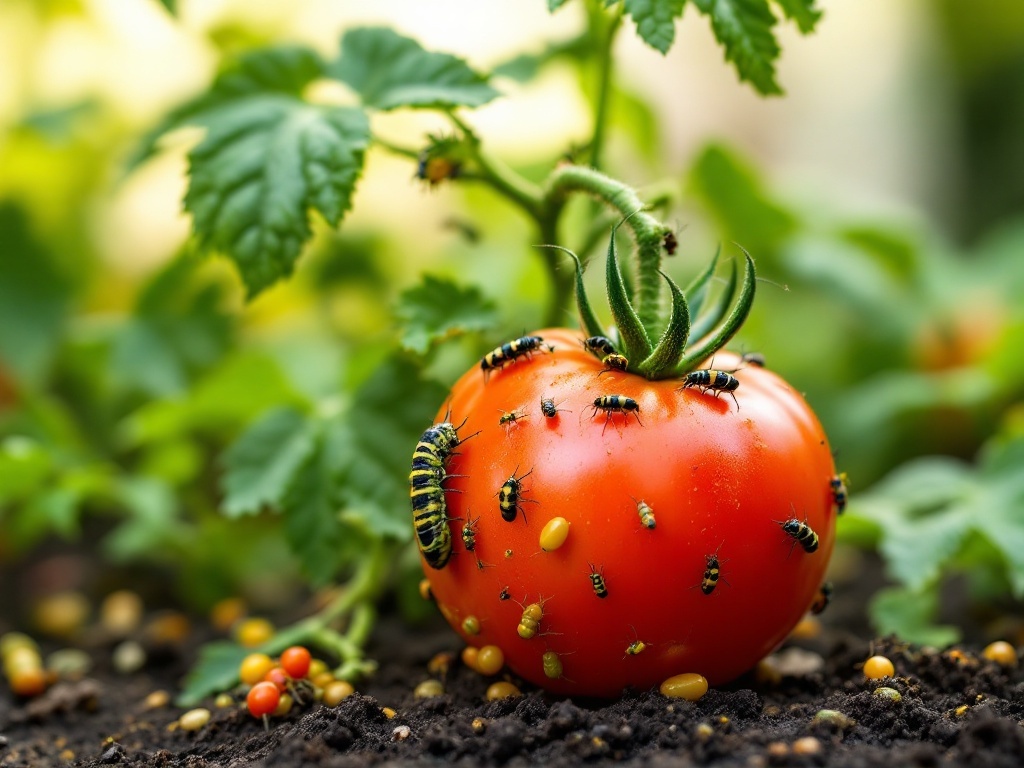
Look at that tomato! It’s a beautiful red, but it’s also a dinner bell for pests. If your tomatoes aren’t thriving, pests might be the hidden culprits. You can see a variety of insects crawling all over the fruit, making it their home.
These pests, such as caterpillars and beetles, can wreak havoc on your plants. They feed on the leaves and fruit, draining the nutrients your tomatoes need. Over time, this leads to stunted growth, yellowing leaves, and even rotten fruit.
To keep your tomatoes healthy, inspect them regularly. Look under the leaves and at the fruit for any signs of pests. If you see them, it’s time to take action! You can use natural remedies like neem oil or introduce beneficial insects that prey on pests.
Remember, a pest-free garden is a happy garden. Keeping an eye out for these little invaders can make a big difference in the health of your tomatoes. So, don’t let them take over!
Inadequate Sunlight Exposure
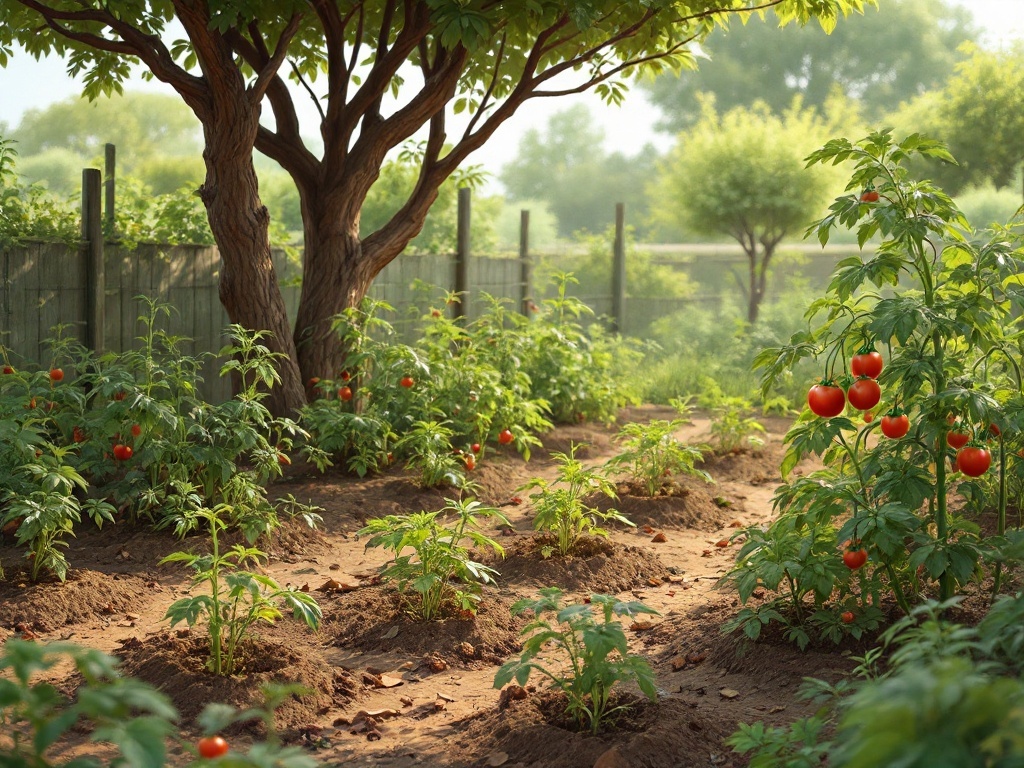
Sunlight is super important for growing tomatoes. If your plants don’t get enough light, they can struggle to thrive. This image shows a garden with vibrant tomato plants, but they may not be reaching their full potential due to shaded areas.
Tomatoes need at least six to eight hours of direct sunlight each day. If your garden has tall trees or fences, those could be blocking the sun. Notice how some plants here are thriving, while others look a bit less robust. This could be due to uneven sunlight exposure.
To help your tomatoes flourish, consider relocating them to a sunnier spot or trimming back any branches or structures that cast shade. Even a small change can make a big difference.
Nutrient Imbalance
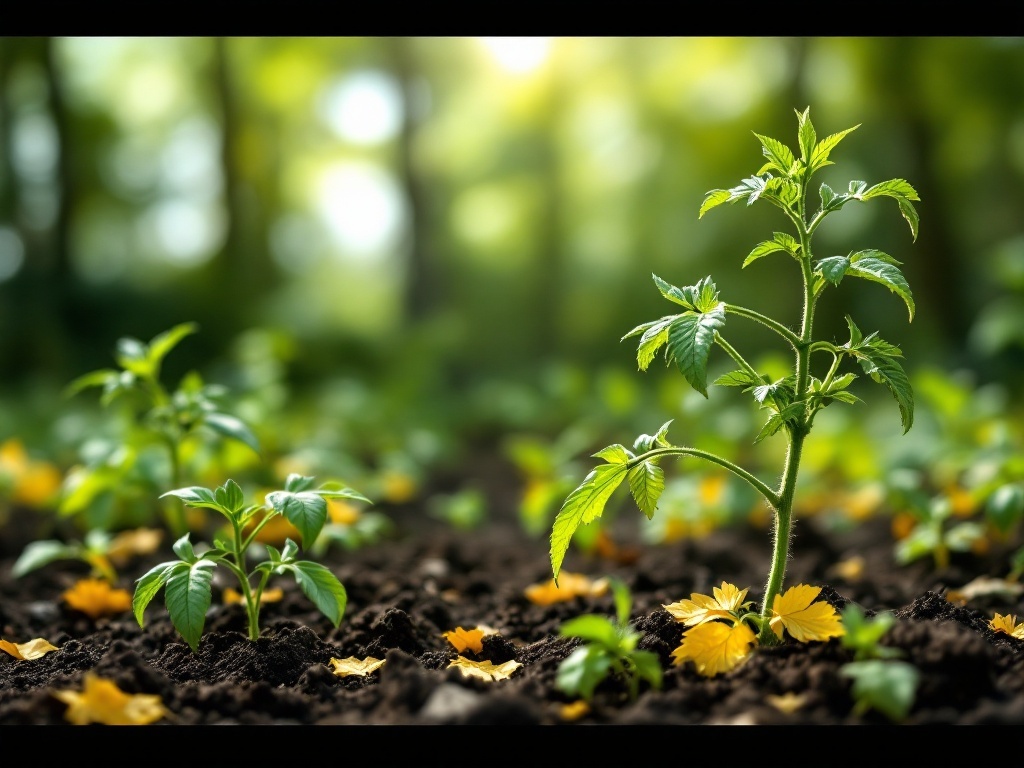
Your tomatoes might be struggling, and a nutrient imbalance could be the reason. The image shows young tomato plants among others, some of which look healthier than the rest. This visual emphasizes the importance of proper nutrition for your plants.
When plants don’t get the right nutrients, they can show signs of stress. Yellowing leaves, stunted growth, or poor fruit development often result from a lack of essential nutrients like nitrogen, phosphorus, and potassium. Each of these plays a unique role in plant health.
If you’re not testing your soil, you might miss crucial insights about what your tomatoes need. Regular soil tests can help you understand nutrient levels and ensure your plants thrive. Adjusting your fertilizer routine based on those results can make a big difference.
Don’t forget about organic matter. Adding compost not only improves the soil structure but also provides a slow release of nutrients. With the right balance, your tomatoes can grow strong and produce a bountiful harvest!
Neglected Pruning
Take a good look at your tomato plants. Those lush green leaves and plump tomatoes might make them look healthy, but if they haven’t been pruned, you could be missing out on better growth and more fruit.
Pruning is a simple way to help your tomatoes thrive. It allows more sunlight to reach the inner leaves and encourages air circulation. When you let the plants grow wild, they can become overcrowded. This can lead to diseases or pests that could ruin your hard work.
Look closely at your plants. If you see extra stems or leaves that aren’t producing fruit, it’s time to trim them back. This will redirect the plant’s energy to the tomatoes that really matter. A little pruning goes a long way in ensuring a bountiful harvest.
Wrong Variety Selection
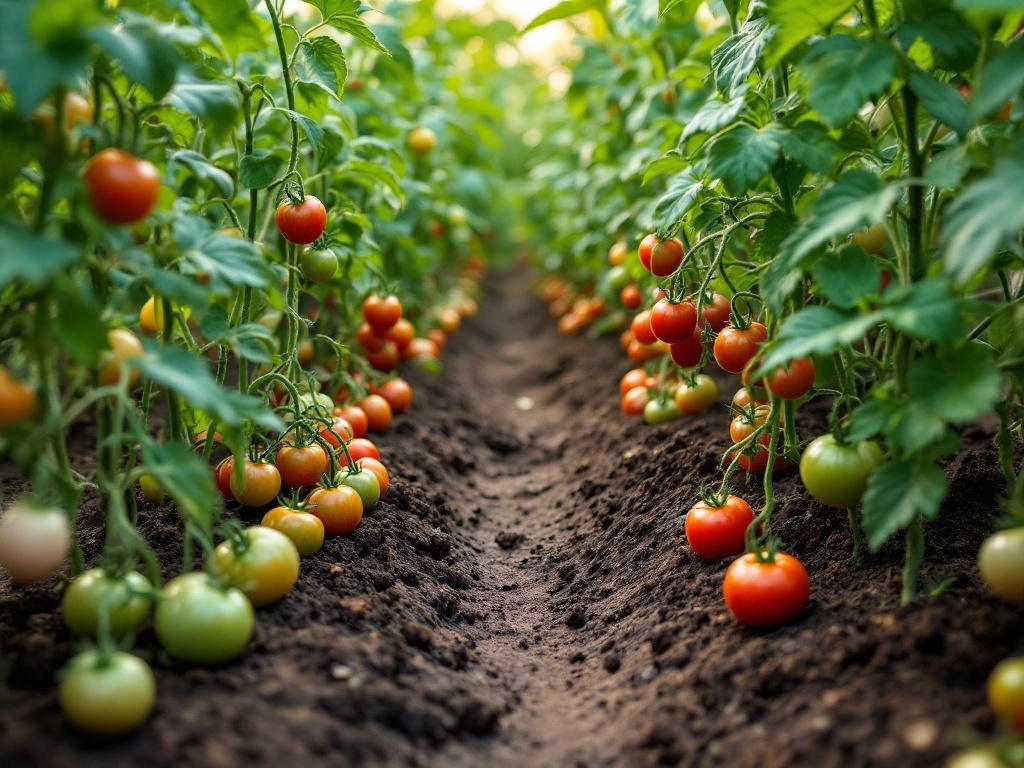
Tomatoes come in many varieties, and not every type is suited for your garden. The image shows a row of tomato plants at different stages of growth, with some ripe and others still green. If your tomatoes aren’t thriving, it might be time to reconsider which type you’ve chosen.
Every tomato variety has its own needs, from sunlight to water. If you selected a type that thrives in a cooler climate but live in a warmer area, your plants might struggle. Researching your local climate is key.
Another thing to think about is disease resistance. Some varieties are more resistant to common tomato diseases. Picking a variety that can withstand local pests and diseases can make a big difference in your garden’s success.
Lastly, consider the growing season. Some tomatoes take longer to mature than others. If you choose a variety that doesn’t fit your growing season, you might end up with fewer tomatoes than you hoped for.