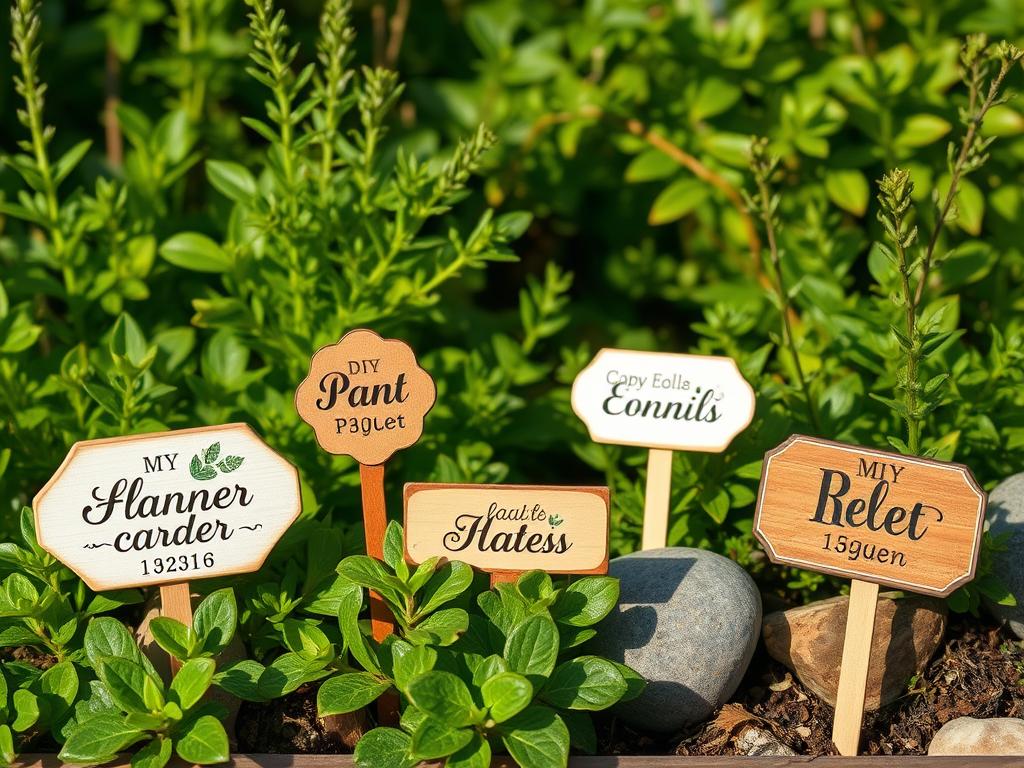
6 DIY Plant Markers to Keep Your Garden Organized and Chic
Are you tired of wondering which succulent is which or where you planted those herbs?
Gardening can be a therapeutic hobby, but keeping track of your various garden labels can be a challenge.
Creating a beautiful and organized garden requires attention to detail, and one simple way to achieve this is by using DIY garden labels.
In this article, we will explore six creative and easy-to-make DIY plant identifiers that will keep your garden organized and add a touch of chic to your outdoor space.
Benefits of Using Plant Markers in Your Garden
Plant markers are more than just labels; they are a key to a well-organized and thriving garden. By using plant identification tags or plant stakes, you can transform your garden into a beautifully maintained space that is both functional and visually appealing.
One of the primary benefits of plant markers is that they enhance organization. With multiple plants in your garden, it can be challenging to keep track of which plant is which. Plant markers provide a simple solution, allowing you to easily identify your plants and keep your garden organized.
Enhance Organization
By labeling your plants, you can ensure that you are providing the right care for each one. This is particularly useful for gardeners with a diverse range of plants. Plant identification tags can be used to note down the name of the plant, its watering schedule, and any other relevant care instructions.
Improve Plant Care
Using plant stakes can also improve plant care by reminding you of the specific needs of each plant. For example, you can use plant markers to indicate the date of planting, the type of fertilizer used, and any pruning schedules. This information can be invaluable in ensuring that your plants receive the best possible care.
Add Aesthetic Appeal
In addition to their practical benefits, plant markers can also add to the aesthetic appeal of your garden. With a wide range of materials and designs available, you can choose plant markers that complement the style of your garden, adding a decorative touch to your outdoor space.
Choosing the Right Materials for Your Plant Markers
Selecting the appropriate materials for your plant markers is a crucial step in creating a well-organized and visually appealing garden. The materials you choose can significantly impact the durability, functionality, and aesthetic appeal of your garden markers.
The variety of materials available allows you to tailor your plant markers to fit your garden’s unique style and needs. Whether you’re aiming for a rustic, modern, or eco-friendly look, the right material can make all the difference.

Wood Options
Wood is a popular choice for plant signage due to its natural look and feel. It can be easily customized with paint, stains, or engravings to add a personal touch. Different types of wood, such as cedar or pine, offer varying degrees of durability and aesthetic appeal.
Metal Choices
Metal markers are known for their durability and can withstand various weather conditions. They can be engraved or painted, allowing for a high degree of customization. Aluminum and stainless steel are popular metal choices due to their resistance to rust and corrosion.
Recycled Materials
Using recycled materials for your plant markers is an eco-friendly option that can add a unique character to your garden. Old plastic containers, wooden crates, or other recyclable items can be creatively repurposed as garden markers, reducing waste and adding a personal touch to your garden.
By considering the pros and cons of each material type, you can make an informed decision that suits your garden’s specific needs and style.
Simple DIY Wood Plant Markers
Creating your own wood plant markers is a fun and rewarding DIY project that adds a personal touch to your garden. Wooden markers can be crafted to fit your garden’s style, whether you’re going for a rustic, modern, or whimsical look.
Crafting Basic Wooden Markers
To start, you’ll need a few basic materials: wooden dowels or stakes, a saw, a drill, and some string or wire. Cut the wood into desired sizes for your markers. You can use wooden dowels or wooden stakes as they are readily available and easy to work with.
Drill a small hole at the top of each marker for hanging, and then cut the wood to the desired length. Sanding the edges can help prevent splinters and give your markers a smooth finish.

Personalizing with Paint or Stains
Once you have your basic wooden markers ready, you can personalize them using paint or stains. Choose colors that complement your garden’s aesthetic. For a more durable finish, consider using outdoor paint or sealant.
You can also add the names of your plants using a paintbrush or a permanent marker. For a more uniform look, use stencils to paint the names onto the markers. This not only adds a personal touch but also makes your garden look more organized and visually appealing.
Using DIY wood plant markers is an effective way to keep track of your plants while adding a decorative element to your garden. With a little creativity, you can turn simple wooden markers into beautiful plant labels that enhance your garden’s overall look.
Creative Stone Plant Markers
Stone plant markers offer a creative way to label your plants while blending seamlessly into your garden’s natural beauty. This method allows you to add a personal touch to your garden, making it stand out.
To get started, you’ll need to source natural stones. These can often be found in or around your garden, or you can collect them from nearby areas. The key is to find stones that are flat enough to write on and have a surface that will hold paint well.
Sourcing Natural Stones
When sourcing natural stones, look for ones that are relatively flat and have a smooth surface. This will make it easier to paint and ensure that your plant tags are legible. You can also clean the stones before painting to remove any dirt or debris.

Painting Techniques for Stones
Once you have your stones, you can start painting. There are several techniques you can use, including freehand painting and using stencils. Freehand painting allows for a more personal and unique touch, while stencils can help you achieve more precise and uniform labels.
To make your stone plant markers more durable, consider applying a clear coat of sealant after the paint has dried. This will protect the paint from weathering and ensure that your labels remain visible throughout the seasons.
Using stone plant markers is not only a creative way to label your plants, but it also adds an element of natural beauty to your garden. By choosing the right stones and painting techniques, you can create unique and functional plant tags that enhance your garden’s overall aesthetic.
Upcycling Plastic Bottles into Plant Markers
Upcycle old plastic bottles to create functional and eco-friendly botanical markers. This creative approach not only reduces waste but also adds a personal touch to your garden. By transforming plastic bottles into plant markers, you can keep your garden organized while promoting sustainability.

The process involves two main steps: cutting the plastic bottles into desired shapes and sizes, and labeling them with the names of your plants. Let’s dive into the details of these steps.
Cutting Techniques
To create plant markers from plastic bottles, you’ll need to cut them into suitable shapes. Here are a few techniques:
- Cut the bottles into strips, making sure they are wide enough to write on.
- Use scissors or a craft knife to cut out shapes or labels.
- For a more uniform look, use a paper cutter or a craft template.
Labeling Ideas
Once you have your plastic markers cut out, it’s time to label them. Here are some creative labeling ideas:
| Labeling Method | Description |
|---|---|
| Paint | Use acrylic paint to write the plant names on the markers. |
| Permanent Markers | Write directly on the plastic using permanent markers. |
| Stickers | Use waterproof stickers to label your plant markers. |
By upcycling plastic bottles into plant markers, you not only reduce plastic waste but also create unique and functional garden labels. This DIY project is a great way to add a personal touch to your garden while promoting eco-friendliness.
Fun and Functional Chalkboard Plant Markers
Add a touch of whimsy to your garden with chalkboard plant markers. These creative markers not only help you identify your plants but also add a personal touch to your garden decor. Chalkboard plant markers are versatile and can be made from various materials, such as wood or stone, allowing you to match them with your garden’s aesthetic.
Materials Needed
To create your own chalkboard plant markers, you will need a few simple materials. Start with a surface to paint on, such as a wooden stake or a stone. You’ll also need chalkboard paint and a paintbrush to apply it. Depending on your design, you might also want to add a coat of primer or a sealant to protect the marker from the elements.
- Chalkboard paint
- Paintbrush
- Surface material (wood, stone, etc.)
- Primer (optional)
- Sealant (optional)
Writing Techniques
Once your chalkboard plant marker is ready, you can use various writing techniques to label your plants. Chalk is a classic choice, offering a rustic and easy-to-use option. For more precision, consider using chalk markers, which provide a finer line and come in a range of colors. Experiment with different fonts and styles to add personality to your garden labels.
To keep your markers looking their best, make sure to store them in a dry place when not in use and avoid exposing them to harsh weather conditions. With a little creativity, your chalkboard plant markers will remain a beautiful and functional part of your garden.
Incorporating Labels and Signs
Elevate your garden’s organization and style by incorporating labels and signs that are both functional and visually appealing. This approach not only enhances the aesthetic appeal of your garden but also makes it easier to identify different plants.
Using labels and signs effectively requires a bit of creativity and planning. You can choose from a variety of materials and designs to match your garden’s theme.
Using Stencils for Neatness
One way to achieve neat and uniform labels is by using stencils. Stencils allow you to create clean, precise lettering that adds a professional touch to your garden. You can find stencils in various fonts and sizes or create your own custom designs.
Benefits of using stencils include:
- Consistency in labeling
- Ease of use
- Professional appearance
Adding Personality with Custom Fonts
For a more personalized look, consider using custom fonts on your plant markers. Custom fonts can add a unique touch to your garden, making it stand out. You can choose fonts that reflect your personality or match your garden’s theme.
Tips for using custom fonts effectively:
- Select fonts that are easy to read
- Use fonts that complement your garden’s style
- Experiment with different font sizes and colors
By incorporating labels and signs thoughtfully, you can enhance both the functionality and beauty of your garden. Whether you opt for stencils or custom fonts, the key is to have fun and be creative with your plant signage.
Seasonal Plant Markers for Different Plants
With the right seasonal plant markers, you can easily identify and care for the diverse plants in your garden. As the seasons change, different plants come into focus, whether it’s the herbs you’re growing for culinary use or the vegetables you’re cultivating for a summer harvest. Using markers tailored to the specific needs and characteristics of these plants can enhance your gardening experience.
Marker Ideas for Herbs
Herbs like basil, rosemary, and thyme are staples in many gardens. Creating markers for these herbs can be both functional and decorative. You can use small stones or pieces of wood and paint the names of the herbs on them. For a more rustic look, consider using terracotta pots or wooden labels with a distressed finish.
- Use natural materials like wood or stone to create herb markers that blend with your garden.
- Paint or engrave the herb names for clear identification.
- Consider adding a small illustration or icon related to the herb for a personal touch.
Vegetable Marker Inspirations
Vegetables such as tomatoes, cucumbers, and carrots have different growing requirements and timelines. Markers for these vegetables can be designed to include not just the name of the plant, but also relevant information like planting dates or care instructions. You can repurpose materials like old spoons, plastic containers, or even create ceramic markers with a personal touch.
Tips for Vegetable Markers:
- Include planting dates to keep track of when your vegetables were planted.
- Use weather-resistant materials to ensure the markers last throughout the growing season.
- Add care instructions or reminders for specific vegetables, like watering needs or fertilization schedules.
By incorporating these seasonal plant markers into your garden, you’ll be better equipped to manage the different needs of your plants, ensuring a healthier and more productive garden.
Weather-Resistant Plant Markers
To ensure your garden remains both beautiful and functional, consider using weather-resistant plant markers. These markers are designed to withstand various environmental conditions, keeping your plant labels intact and your garden organized.
Durable Materials for Long-Lasting Markers
When it comes to creating weather-resistant plant markers, the choice of material is crucial. Metal and plastic are popular options due to their durability and resistance to weathering. Metal markers can be made from materials like aluminum or stainless steel, which are not only durable but also resistant to rust when properly coated.
Plastic markers, on the other hand, are lightweight and can be made from recycled materials. They can be molded into various shapes and sizes, making them versatile for different garden layouts.
| Material | Durability | Weather Resistance |
|---|---|---|
| Metal | High | Excellent |
| Plastic | Medium to High | Good |
| Wood | Low to Medium | Fair |
Tips for Long-Lasting Design
To maximize the lifespan of your plant markers, consider the following design tips:
- Use waterproof paint or coatings to protect the markers from rain and moisture.
- Avoid using materials that may degrade over time, such as untreated wood or thin plastics.
- Design your markers with a simple, clean layout to ensure they remain legible even when weathered.
By selecting the right materials and designing your plant markers with longevity in mind, you can enjoy a well-organized and beautiful garden for years to come.
Incorporating Themes for Your Garden Markers
The right theme for your garden markers can transform your garden into a harmonious and inviting space. Incorporating themes into your garden markers not only adds a cohesive look but also reflects your personal style and complements the overall garden design.
Rustic Gardens
For gardens with a rustic charm, natural materials such as wood and stone are ideal. These materials blend seamlessly with the earthy tones of a rustic garden, creating a harmonious and organic look.
Modern or Minimalist Gardens
In contrast, modern or minimalist gardens benefit from sleek and simple designs. Materials like metal or recycled plastic can be used to create clean-lined, uncluttered garden markers that fit perfectly with the modern aesthetic.
| Theme | Material | Aesthetic |
|---|---|---|
| Rustic | Wood, Stone | Earthy, Organic |
| Modern/Minimalist | Metal, Recycled Plastic | Sleek, Simple |
By choosing a theme that complements your garden’s style, you can enhance its overall appeal. Whether you opt for a rustic, natural look or a modern, sleek design, your garden labels can become a beautiful and functional part of your garden.
Caring for Your Plant Markers
To keep your garden looking its best, it’s essential to maintain your plant identification tags and plant stakes. Proper care ensures they remain in good condition, continuing to serve their purpose effectively.
Tips for Maintenance
Regular cleaning is crucial to prevent dirt and grime from accumulating on your plant markers. Use a soft brush or a damp cloth to gently remove any debris. For markers exposed to the elements, consider applying a protective coating to shield them from weathering.
Replacing Worn-Out Markers
Over time, plant stakes and identification tags may become worn or damaged. Replace them as needed to maintain your garden’s organization and aesthetic appeal. When selecting new markers, consider the materials and designs discussed in previous sections to ensure they complement your existing garden decor.
By following these simple care tips, you can extend the life of your plant markers and keep your garden looking its best.
Leave a Reply